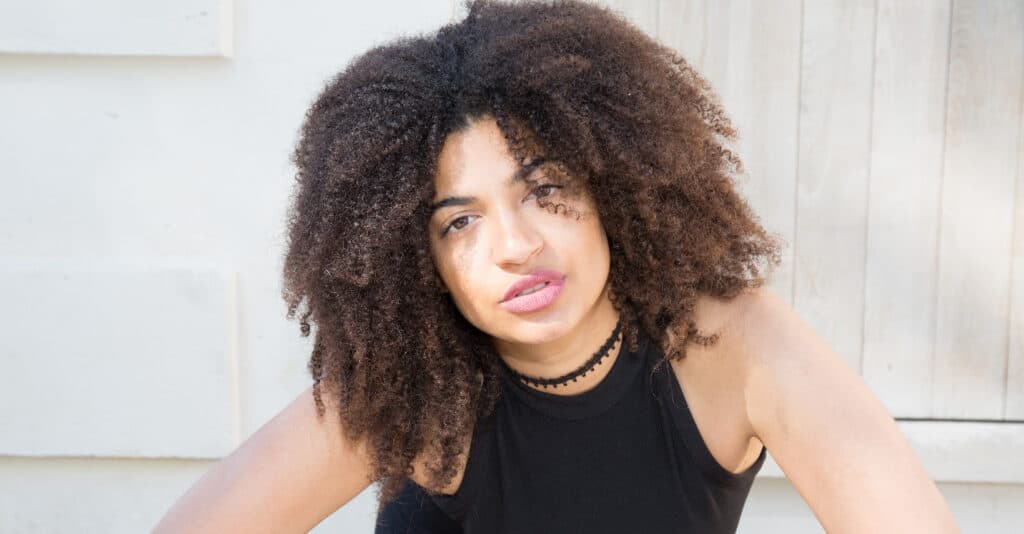
Natural hair is a beautiful thing but sometimes it’s nice to be able to switch things up a little. Natural hair comes in various forms, some are kinkier than others and some are more curly.
For those of us who lean more to the kinky side of things, it’s nice to have the option where we can define our curls if we want to. This can be done through things such as a straw set or a curling wand for example.
Today we are going to explore some of the different ways that you can make your 4c hair curly if you so choose to.
***Please note that this site uses affiliate links if you would like to read the legal stuff you can find it here

10 Methods To Help Define Your 4c Curls
1. Wash And Go
Wash and go’s are a great way to help your curls get a nice, defined look. What makes wash and go’s so popular amongst so many naturals is the fact that it can last for so many days.
After doing your wash and go you can simply refresh your hairstyle the next day in a matter of minutes.
Let’s take a look at the best way you can quickly achieve a great wash and go hairstyle.
Start with freshly washed hair.
Make sure your hair is soaking wet otherwise it won’t work very well.
Some people like to apply a little leave-in conditioner at this point. You may have to experiment if this works for you or not.
Instructions:
Section your hair into roughly 8 small sections depending on the thickness of your hair and your hair texture.
Take the first section and begin to apply gel. Some people like to use the praying hand’s method to help avoid frizz.
Do this until all sections have been completed.
You can easily refresh your hair the next day by lightly spritzing it with water and shaking your hair out for great curl definition.
2. Shingling Method
The shingling method is similar to a wash and go but in this instance, your hair doesn’t necessarily have to be dripping wet.
It is still best to start with freshly washed hair to make sure your products don’t clash and you don’t end up with lots of buildup.
When it comes to the shingling method you can choose to make some parts of your hair more defined if you wish.
To do the shingling method put your hair into smaller sections. 6-8 should do.
Apply a little leave in conditioner like this one.
Next, add some gel to your hair. The hair will naturally begin to clump into sections. Some people like to twirl sections of hair around their fingers to add a little extra definition.
You can leave your hair to air dry or use a diffuser to help it dry faster.
3. Bantu Knots
Not only are bantu knots a really cute hairstyle on their own, but they also provide a great foundation for giving you a perfect curly hairstyle too.
Bantu knots can also serve as a great protective style too and easily works on all 4c hair types.
Achieving a great bantu knot hairstyle is fairly easy.
To begin with section your hair into sections that you would like your bantu knots to be in.
Once you have done this, take the first section and do a 2 strand twist.
Take that 2 strand twist and then wrap it around itself and tuck it into your hair. You may need to secure it with a bobby pin to keep it in place.
Continue to do this until you have covered your whole head of hair.
You can leave this style in for a few days for maximum definition.
Once you are ready to take the hairstyle down you can undo each section carefully so you don’t cause frizz. Some people like to add a little coconut oil to their hands for slip to help avoid frizz. Carefully fluff out your hair until you get the desired curly hair effect that you are looking for.
4. Twist Out
I love a good twist out.
Twistouts allow you to be able to make your curls as tight or as loose as you like.
You can adjust the size of your twistout by either making your 2 stand twists as big or as small as you would like them.
To get a good twist out, part your hair into sections, apply some leave in conditioner and twist each section with either a 2 strand or a 3 strand twist. Make sure you use the right products in the right way for your particular hair type.
If you have low porosity hair you should take a look at this article first.
You can do this overnight or keep it as a hairstyle for a few days to make sure the twists will hold once you undo them.
5. Braid Out
Braid outs are very similar to twist outs and most people usually take preference to one over the other.
Personally, I prefer a braidout over a twistout because I find that a braid out will hold my hair better than a twist out will, and it lasts a lot longer.
By all means, experiment to see which one works best for you.
To install a braid out it’s the same method as above, but instead of doing a twist you simply braid the hair instead.
You can also experiment with using shea butter in your hair to see if that helps with moisture retention. If you have dry hair and very tight coils you’ll need all the moisture you can get to help maintain your braid out for as long as possible.
6. Flexi Rods
Flexi rods are great for making 4c hair curly. You can purchase them in a range of different sizes which means that you can get the perfect size for how big or small you want your curls to be.
You can pick up some Flexi rods here.
Install your flexi rod set by firstly, beginning on clean and detangled hair. Personally, I like to give myself a little head massage to help release some natural oils from my scalp into my hair. You can learn about some effective ways to to this through this article: How to head massage.
Start from the back of your hair with a small section.
Apply a leave in conditioner and a gel (optional) to each section of hair. Make sure you are using the best products for your type 4c hair.
Next, take your first flexi rod and gently wrap your hair around it. If you are unsure how to do it, look at the video below for installation instructions.
Once complete you can leave it to air dry or sit under a hooded dryer until dry.
Once dry take out the flexi rods and style your curly 4c hair as desired.
7. Finger Coils
Finger coils are a great way to enhance the 4c curls that you already have.
When it comes to natural hair, especially 4c it’s best to first begin working in small sections to help prevent tangling of your hair strands. You can use a wide-tooth comb to help with detangling if you are not used to using your fingers.
Once you have your first small section, apply gel or a curl defining jelly or curl cream to your hair.
Make sure all the strands are well covered. Begin to twirl sections of your hair around your finger to create a more defined curl look. Try to start twirling as close to the root of your hair as possible.
Continue to do this until all sections of your hair have been covered.
You can choose to let your hair air dry or diffuse it at this point, whichever you feel is the fastest way for you.
Once dry some people like to separate the curls more for a fuller look. Just be careful if you choose to do this so you don’t create frizz.
8. Perm Rods
Perm rods are great for creating big and bouncy curls on 4c natural hair.
To install, start with freshly washed and conditioned hair. Deep conditioning your hair beforehand will help to add extra moisture to your strands. This is partially helpful if your hair tends to be dry or you have very kinky hair.
Next, add a leave-in conditioner and curl defining cream or jelly to your strands.
Divide your hair into sections. The number of sections will depend on how many perm rods you plan on using.
Starting at the roots, take small sections of hair and wrap it around the perm rod. Try to make sure the perm rod stays as close to your scalp as possible.
Continue this process until all of your hair is done.
Let your hair air dry or sit under a hooded dryer for the best results.
Once your hair is completely dry, remove the perm rods and style as desired.
9. Curlformers
Curlformers are another great method to help make 4c hair curly.
To begin the installation, start with clean and damp hair.
Apply a generous amount of leave-in conditioner to your natural curls.
Divide your hair into sections for better control.
Take the first section and make smaller sections to begin the installation.
Starting at the roots, place the curlformer onto your strand of hair. Make sure that all the strands of hair are inside the curl former.
It can seem like a little bit of a tricky process if this is the first time you are trying to use culformers so you may want to watch the following video for some added support.
Repeat this process until all sections are complete.
Once your hair is dry you can begin to remove the curlformers and style as you wish.
10. Cornrows
Cornrows are a simple way to get defined curls.
Start with clean and detangled hair.
Next, decide how many cornrows you want. This will depend on how big or small you want your curls to be. When installing your cornrows think about how you want your curls to sit first to make sure you get the desired results.
Divide your hair into sections using a comb.
Start by taking a small section of hair and begin to cornrow it back. As you are cornrowing make sure to keep the braid tight so that it doesn’t unravel.
Continue this process until all sections are complete.
You can leave your hair in this style for a few days or simply wait for it to dry and then style it.
You can use this same method to install flat twists too!
Final Thoughts On How To Make 4c Hair Curly
There are so many different ways that you can make your 4c hair curly. With all of the ideas above you really will be spoilt for choice.
Which is your favourite method for creating your perfect curls? Let me know in the comment section below!
Related posts:
Which is best, braid out or the twist out?
10 Best deep conditioners for 4c hair


